How to Create a Work Order
You can create work orders for work you are currently performing, work you have done in the past, or work you are requesting to be done. *Note: When filling out the work order form, you will notice some of the fields have a red checkbox ( ) next to it. This means the field is required and must be filled out before the work order can be saved.
Watch the Video Tutorial:

- Click on the New Work Order tab to enter a new work request.

- Choose a Status from the drop down. For new requests, select the New Request Status.
- From the Priority drop down box, select the appropriate priority.
-
Identify where the work needs to be done by choosing a Location from the drop down.
- If your organization utilizes the Bldg./Unit field, select one from the drop down.
- If applicable, choose the general Area type that best fits the location of the work request.
-
Enter the specific area in the Area Number field if applicable. (The Area Number field is alphanumeric and is where you can enter specific room names or numbers.)
-
The Request Date will automatically populate with today's date. *Note: If entering a work order that has already been completed, this date can be changed to the date of the actual request.
-
Enter a detailed Request Description in the open text box.

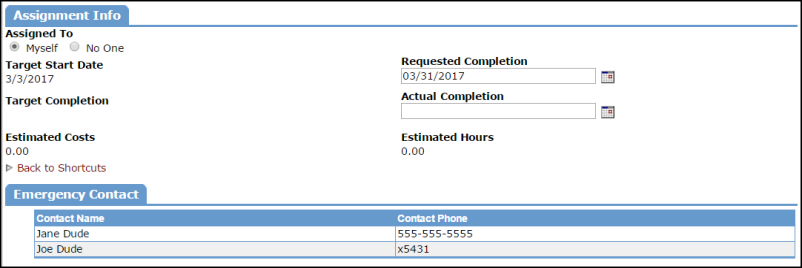
- If you are performing the work, select the Myself bubble under Assigned To. If you are not performing the work, select the No One bubble and the work order will follow the routing rules set up in your account.
- The Target Start Date will be the date you create the work order by default. This field cannot be modified.
-
If applicable, fill in the Requested Completion Date and Actual Completion Date.
- The Estimated Costs and Estimated Hours sections are view-only and cannot be modified.
- If your Administrator has entered Emergency Contacts for you to view, you will see them listed under the Emergency Contact section.
-
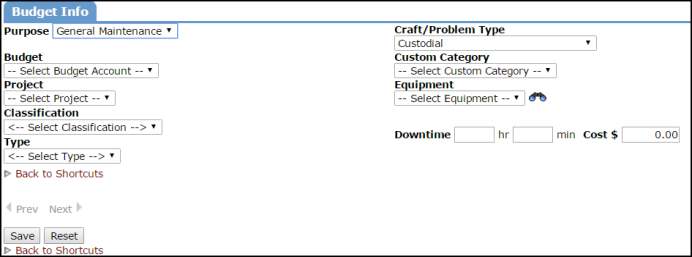
Choose the Purpose Code that best describes why the work order is requested.
-
Select the appropriate Craft to identify what type of work is being requested.
-
If your organization is utilizing Budget Codes, the Custom Category, Projects, Equipment, or Classifications and Types, identify any of the codes by clicking on the drop down boxes.
-
You can also enter the Equipment Downtime and Cost if needed. Information entered in these boxes will show on a printed work order form. If no information has been added, blank spaces will be provided on the printed work order for you to record this information in the field.
-
Click Save. The work order will now be assigned a work order ID number.